One of the teams that I manage were working on a .net based web single-sign-on project. The specifications included a COM DLL file which had to be registered on the server. The development team successfully implemented the SSO on the localhost and then proceeded to move the items to the development server. However, they realized that the development server was 64Bit Windows 2003 while the DLL was for 32 environments. They went ahead with regular procedures (registering the DLL through %%/System32/RegSvr.32) but with no luck. The SSO was giving us an error whenever the DDL functions were invoked.
System.Runtime.InteropServices.COMException (0x80004027): Retrieving the COM class factory for component with CLSID {} failed due to the following error: 80004027.
So I Googled for options and almost all of the answers were talking about simply registering the DDL through c:/Windows/SysWow32/RegSvr32.exe. We did that and tons of other solutions with no avail.
Finally after searching and experimenting for two days we found the answer. It gave us so much grief that I decided to put this solution out here on my blog for anyone in the similar position.
Here is what I did:
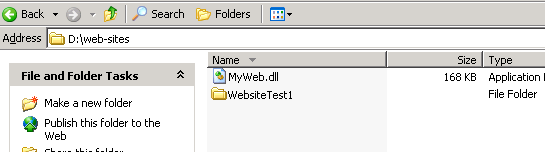
- I place the DLL on the 64bit server in a location where it was accessible to the application pool user (the site user). I did that as a precaution because the DLL would be invoked through our website and I wanted to be sure that I do not put it in a location which would be inaccessible to the web. So, let’s say I put the DLL at D:/websites/MyDll.dll
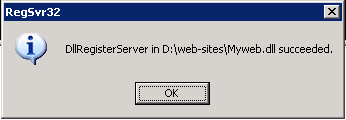
- Next through command prompt, I went to I ran the following command:
regsvr32 D:\web-sites\MyWeb.dll

- Next I went to Administrative
Tools > Component Services

- From Component Services I browsed through the left side menu tree to
Component Services > My Computer

- Right Click on Com+ Applications and select
New > Application. This will open a COM+ Application Install Wizard.

Use this wizard as follows:
a. Click Next.
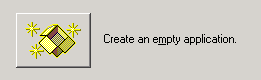
b. Click Create Empty Application.
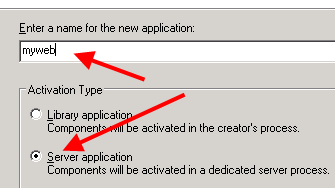
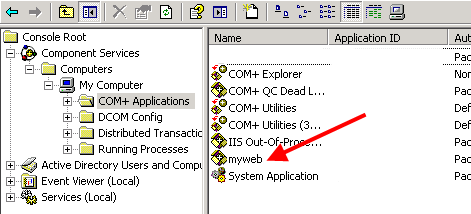
c. Assign a Name to the application (that is, the same name as the COM DLL). Do not include any periods.
d. Select Server Application.
e. Click Next
f. Select Local Services – Built-in Service account

g. Click Next
h. Click Next
i. Click Next

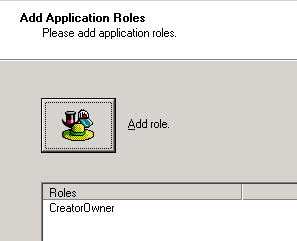
j. Click finish. - So now you have created the basic COM+ App but you still have to
associate the DLL with it.


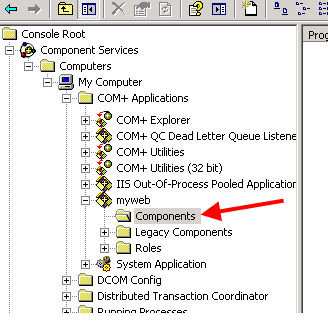
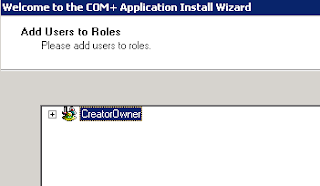
Click New > Component.


Select Install new component(s).

Browse to the folder that contains the DLL to isolate.

Select the DLL to isolate.
Click Next and then click Finish.
- On the Taskbar click Start, and then click Run.
- In the Run dialog box type: iisreset
- Click OK.


0 comments:
Post a Comment